
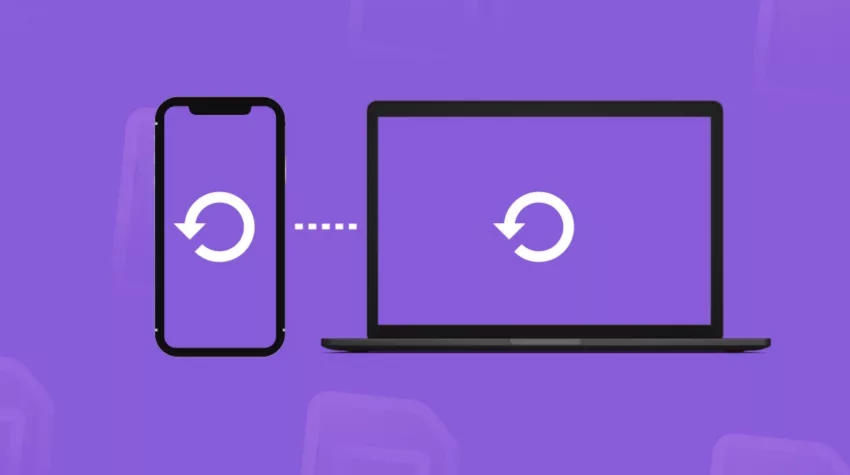
There are countless reasons why you should back up your iPhone on a computer. Not only does backing up to a computer ensure that all of your photos, videos, contacts, messages, and more are safe and sound in the event of any system failure or corruption, but it also allows you to free up valuable storage space on your device.
To ensure your data is stored securely and efficiently, here are 7 ways to move your iPhone backup to a computer.
1. Using iTunes
The most commonly known method of backing up an iPhone is through iTunes. Simply connect the smartphone to a computer with iTunes installed and launch the program; iTunes will automatically detect your phone and offer you the option to create a backup.
After selecting “Back Up Now” from the menu bar at the top of the window, you’ll be able to access all of your backed-up files from iTunes itself.
If you are on a Mac, Time Machine is also worth a shout. Though be wary of some issues, like the Time Machine stuck on preparing backup or compatibility problems between the tool and the iPhone if the latter is outdated.
2. Using iCloud
Another way to back up an iPhone is via iCloud – Apple’s cloud storage service which offers 5GB of free storage for backups as well as various other applications such as Photo Stream and Find My iPhone.
To use iCloud for backing up an iPhone, first enable iCloud Backup by going into Settings > iCloud > Backup & Storage > Backup then toggle “On” next to iCloud Backup.
Once this has been done, leave the phone connected to a Wi-Fi network and plugged into power overnight so that it can complete a full backup process without interruption or draining battery life too quickly.
3. Using Google Drive
The third method is by using Google Drive. To do this go into Settings > Google Apps > Drive then tap “Back Up Now” at the bottom right-hand corner of the screen;
After completion, all backed-up files will be accessible from within Google Drive itself or its associated app.
4. Using Dropbox
This popular cloud storage service also offers users an option for backing up their iPhones by going into Settings > Dropbox and then tapping “Back Up Now”.
Since Dropbox also offers 2GB of free storage space, it’s worth giving this method a try if you are looking for some extra protection in case something goes wrong with your phone down the line.
5. By Transferring Files With A USB Cable
If neither iTunes nor cloud services appeal to you but you still want some form of local backup solution then transferring files directly via USB cable may be what you need; simply plug one end of the cable into both devices (iPhone & computer) then select “Transfer File” when given the option between transferring photos/videos/etc. from device 1 (the laptop) to device 2 (the phone).
This will allow access to all files stored on either device, letting them both ways with ease.
6. By Exporting Your Data To Your Computer
Another useful feature available that lets users export their data including text messages, and call logs, onto their computers is by using apps such as DrFone – Transfer or MoboPlay For PC tools which both allow easy file transfer between two devices at no cost whatsoever (for both Mac & Windows).
7. By Enabling Remote Backups Using An App
Finally, if none of these solutions suit your needs or preferences there are plenty of third-party apps available which enable users to remote backups over Wi-Fi connections.
Most notable among them is iExplorer – Toolkit for Windows & Mac OS X respectively, which let users not only back up an entire iOS device but also view/edit/export certain types of media too like music & video libraries in iTunes without needing any additional hardware apart from their own mobile device.
- What Synthetic Media Is and How It’s Transforming Digital Content? - November 4, 2025
- What is a Personal Digital Assistant? - September 6, 2025
- What is a Digital Audio Workstation? - September 3, 2025